
Gold jewelry shines bright and adds a touch of luxury to any look but even the highest quality pieces can lose their sparkle over time. Most people think gold is indestructible or that harsh cleaners are needed to get that famous gleam back. The truth is gold is so delicate that only a gentle cleaning method preserves its original beauty and using just a few drops of mild soap with lukewarm water is safer for gold than most store-bought cleaning solutions.
Table of Contents
- Step 1: Gather Your Cleaning Supplies
- Step 2: Prepare A Cleaning Solution
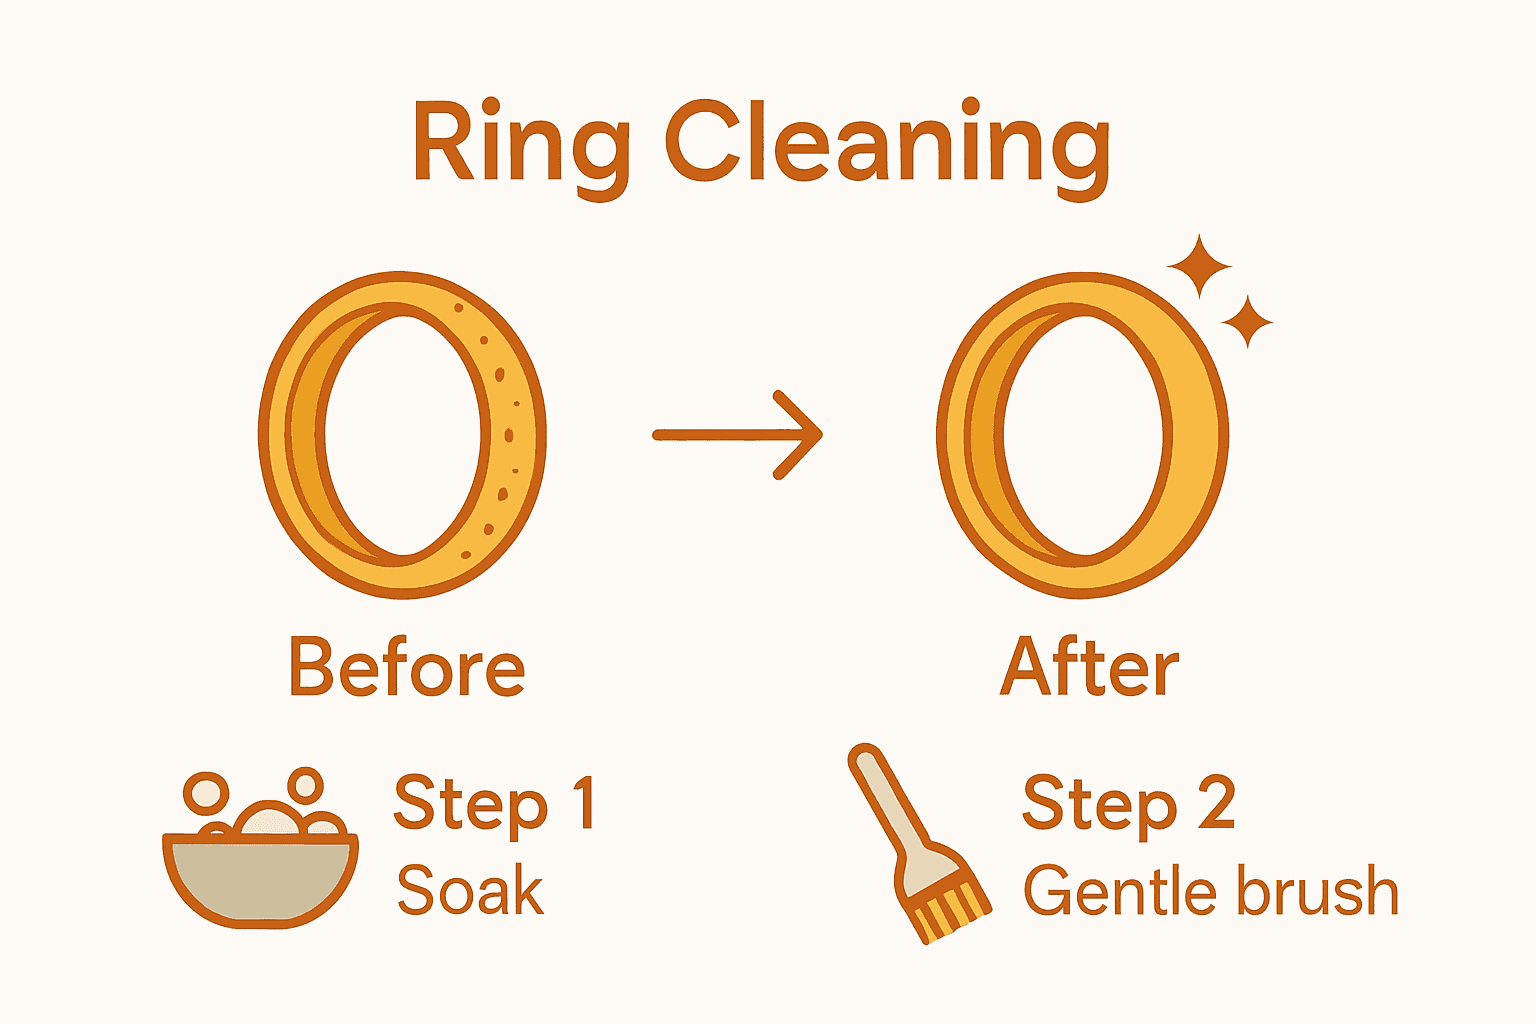
- Step 3: Soak Your Gold Jewelry
- Step 4: Gently Scrub With A Soft Brush
- Step 5: Rinse And Dry Thoroughly
- Step 6: Inspect For A Quality Finish
Quick Summary
| Key Point | Explanation |
|---|---|
| 1. Gather soft cleaning materials | Use lukewarm water, mild dish soap, and soft brushes to prevent scratching gold jewelry. |
| 2. Prepare a gentle cleaning solution | Mix a few drops of soap in lukewarm water to effectively clean without damaging the gold. |
| 3. Soak jewelry for 15-30 minutes | Allow gold pieces to soak gently to loosen dirt without physical scrubbing. |
| 4. Use light strokes when brushing | Gently scrub with a soft brush, focusing on intricate areas without applying pressure. |
| 5. Inspect jewelry after cleaning | Check for uniform shine, loose stones, and any residue to confirm successful cleaning. |
Step 1: Gather Your Cleaning Supplies
Cleaning your gold jewelry at home requires precision and the right tools. Before you begin, assembling the proper cleaning supplies ensures a safe and effective process that preserves your precious pieces. Gold is a delicate metal that demands gentle care, so selecting the appropriate materials is crucial for maintaining its shine and structural integrity.
Essential Cleaning Materials
To start, you will need a few common household items that work perfectly for cleaning gold jewelry. Your primary toolkit should include lukewarm water, mild unscented dish soap, a soft-bristled brush (like a new, unused toothbrush), and several soft, lint-free cloths. Gemological Institute of America recommends using these basic supplies for safe home jewelry cleaning.
Your specific cleaning kit should contain:
- Ceramic or glass bowl for mixing cleaning solution
- Soft microfiber cloths
- Mild, non-abrasive dish soap
- Soft-bristled brush
- Clean, lint-free towel for drying
When selecting your tools, prioritize softness and gentleness. Avoid harsh materials like paper towels, rough washcloths, or stiff-bristled brushes that could scratch or damage your gold jewelry. The goal is to create a cleaning environment that protects and restores your pieces without causing unnecessary wear.
Preparing your workspace is equally important. Choose a clean, flat surface with good lighting, preferably near a sink with running water. Lay down a soft towel to provide a cushioned workspace and prevent accidental drops. By methodically gathering your supplies and creating an organized cleaning area, you set the stage for successfully restoring your gold jewelry’s natural brilliance.
Here is a summary table highlighting each step in the natural gold jewelry cleaning process, with estimated time and key outcomes for each phase.
| Step | Estimated Time | Key Outcome |
|---|---|---|
| Gather Supplies | 5 minutes | Cleaning area prepared with proper soft materials |
| Prepare Cleaning Solution | 2 minutes | Safe, gentle soap solution ready for use |
| Soak Jewelry | 15-30 minutes | Dirt and oils loosened without manual scrubbing |
| Gently Scrub With Soft Brush | 5 minutes | Remaining grime gently removed from jewelry |
| Rinse and Dry Thoroughly | 5-10 minutes | No soap residue; jewelry completely dry |
| Inspect for a Quality Finish | 3 minutes | Shine restored; jewelry checked for flaws |
Step 2: Prepare a Cleaning Solution
Now that you have gathered your cleaning supplies, creating the right cleaning solution becomes the critical next step in safely restoring your gold jewelry’s brilliance. Proper solution preparation is essential to protect your delicate pieces from potential damage while effectively removing accumulated dirt and oils.
Begin by selecting a clean ceramic or glass bowl that provides ample space for your jewelry pieces. Gemological Institute of America recommends using lukewarm water mixed with a few drops of mild, unscented dish soap. The temperature is crucial - water should feel comfortably warm to the touch, never hot, as extreme temperatures can potentially compromise the metal’s integrity or loosen any gemstone settings.
The ideal cleaning solution requires careful proportions. You want to create a gentle mixture that effectively cleanses without being overly concentrated. Mix approximately one to two drops of mild dish soap into a small bowl of lukewarm water. Stir the solution gently until the soap is fully dissolved, creating a light, slightly sudsy liquid. Avoid using harsh detergents or cleaners with strong chemicals, as these can strip away the gold’s natural luster or cause discoloration.
Pro tips for solution preparation:
- Use only mild, unscented dish soap
- Ensure water is lukewarm, not hot
- Create a light, slightly sudsy mixture
- Stir gently to distribute soap evenly
Before submerging your jewelry, take a moment to inspect the solution. The water should appear clear with just a hint of soap bubbles. If the mixture looks too soapy or concentrated, add a bit more water to dilute it. This careful approach ensures your gold jewelry receives a thorough yet gentle cleaning that maintains its original shine and structural integrity.
Step 3: Soak Your Gold Jewelry
With your gentle cleaning solution prepared, the next crucial step involves carefully soaking your gold jewelry to dissolve accumulated dirt and restore its natural shine. Soaking helps loosen stubborn grime without requiring aggressive scrubbing that could potentially damage your delicate pieces. This process is about patience and precision. Gemological Institute of America recommends allowing jewelry to soak for 15-30 minutes to effectively break down oils and debris.
Gently place each piece of gold jewelry into the prepared lukewarm soapy solution, ensuring they are fully submerged but not overcrowded. If you have multiple pieces, consider cleaning them separately to prevent scratching or tangling. Avoid mixing different types of jewelry in the same cleaning solution, as stones or different metal compositions might react differently to the soap.
While soaking, observe how the dirt begins to lift from your jewelry. For pieces with intricate designs or hard-to-reach areas, you might notice grime slowly dissolving. If you want more details about maintaining your gold pieces, check out our comprehensive guide on caring for gold jewelry.
Important soaking guidelines:
- Keep jewelry fully submerged
- Soak for 15-30 minutes
- Do not scrub while soaking
- Separate pieces to prevent scratching
Remember that different gold jewelry might require slightly different soaking times. Delicate chains or pieces with intricate settings might need gentler treatment. Your goal is to let the soap solution do the work, softening dirt without applying physical pressure. After the recommended soaking time, your jewelry should look visibly cleaner and ready for the next cleaning stage.
Step 4: Gently Scrub with a Soft Brush
After soaking your gold jewelry, the next delicate stage involves gentle brushing to remove remaining dirt and restore its natural brilliance. Precision and gentleness are paramount during this cleaning phase, as improper scrubbing can potentially damage your precious pieces. Gemological Institute of America recommends using a soft-bristled brush to carefully remove stubborn grime without scratching the metal’s surface.
Remove each piece of jewelry from the cleaning solution and hold it carefully over the bowl. Take your soft-bristled brush - ideally a new, clean toothbrush with ultra-soft bristles - and prepare to work methodically. Angle the brush to match the jewelry’s contours, using light, deliberate strokes that follow the piece’s natural lines. Pay special attention to intricate areas like chain links, pendant settings, and decorative details where dirt tends to accumulate.
If you want more insights into preserving your jewelry’s quality, explore our comprehensive guide on gold jewelry care. This will provide additional context about maintaining your cherished pieces.
Critical brushing techniques:
- Use light, gentle strokes
- Follow the jewelry’s natural contours
- Focus on intricate areas
- Avoid applying excessive pressure
- Work systematically around each piece
As you brush, periodically rinse the piece in clean, lukewarm water to wash away loosened dirt. Watch how the jewelry begins to regain its original luster. The goal is not aggressive scrubbing but careful, thoughtful cleaning that respects the metal’s delicate nature. Move slowly and intentionally, ensuring each stroke contributes to revealing the jewelry’s inherent beauty without causing unintended damage.
Step 5: Rinse and Dry Thoroughly
After carefully brushing your gold jewelry, the final cleaning stages demand equal precision in rinsing and drying. Proper rinsing removes all soap residue that could potentially dull your jewelry’s magnificent shine. Gemological Institute of America recommends using warm running water to thoroughly rinse each piece, ensuring complete removal of cleaning solution.
Close the sink drain or place a fine mesh strainer to prevent accidentally losing small jewelry pieces during rinsing. Hold each piece individually under lukewarm running water, allowing the water to flow gently over the entire surface. Rotate the jewelry slowly to ensure all soap is washed away from every crevice and intricate detail. The water should run clear, indicating that no cleaning solution remains on your gold piece.
If you’re interested in more advanced jewelry care techniques, check out our comprehensive guide on preserving gold jewelry.
Critical drying guidelines:
- Use a clean, soft lint-free microfiber cloth
- Pat jewelry gently - do not rub
- Avoid paper towels or rough materials
- Allow pieces to air dry completely if needed
- Handle jewelry by its edges to prevent fingerprints
Drying requires an equally delicate touch. Take a clean, soft microfiber cloth and gently pat the jewelry dry. Never rub or apply excessive pressure, as this could scratch the metal’s surface. For pieces with complex designs or hard-to-reach areas, you might need to let them air dry completely. Ensure your drying area is clean and dust-free to maintain the jewelry’s pristine condition. The goal is to restore your gold jewelry to its original, gleaming state without introducing new marks or residues.
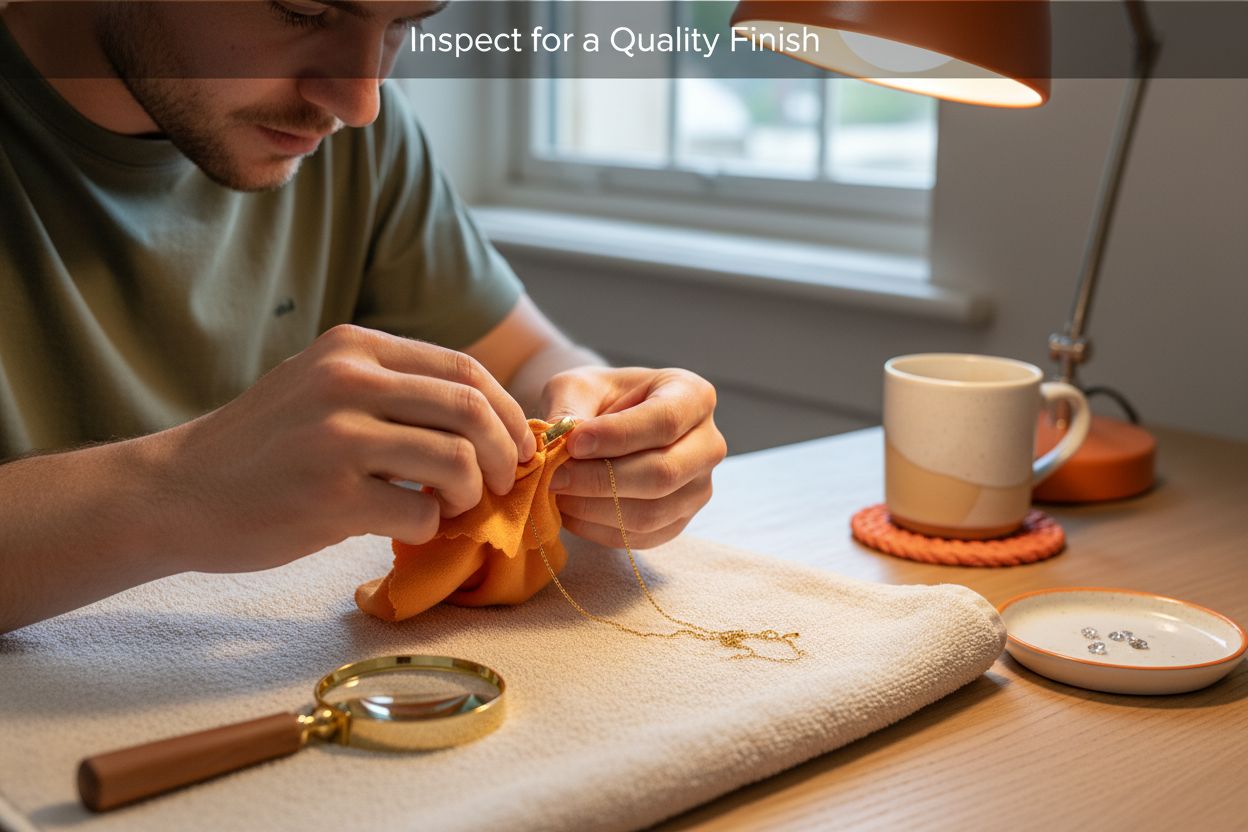
Step 6: Inspect for a Quality Finish
The final stage of cleaning your gold jewelry involves a meticulous inspection that ensures your hard work has restored the piece to its optimal condition. A careful visual examination reveals the success of your cleaning efforts and helps identify any potential issues that might require professional attention. Gemological Institute of America recommends conducting this inspection under bright, natural lighting to capture every nuanced detail of your jewelry.
Position yourself near a well-lit window or use a bright, focused lamp to examine each piece thoroughly. Hold the jewelry at different angles, allowing light to reflect off its surface and reveal its renewed brilliance. Look for consistent shine and color across the entire piece, paying special attention to intricate areas like chain links, settings, and decorative elements. Your goal is to confirm that all dirt, soap residue, and grime have been completely removed.
If you want more insights into maintaining your jewelry’s long-term quality, explore our comprehensive guide on gold jewelry care.
Critical inspection checklist:
- Check for uniform shine and color
- Examine settings and stone security
- Look for any remaining residue or spots
- Verify no scratches were introduced during cleaning
- Confirm clasps and connections are clean and functional
Beyond visual inspection, gently feel the jewelry’s surface to ensure smoothness. Run your fingertip lightly across the piece, checking for any unexpected texture or rough patches. Pay particular attention to stone settings, making sure no stones have become loose during the cleaning process. If you notice any significant issues such as significant scratches, loose stones, or structural damage, it might be time to consult a professional jeweler for more detailed restoration or repair.
Here is a checklist table to help you inspect your gold jewelry after cleaning and ensure it is restored to its best condition.
| Inspection Area | What to Look For | Why It Matters |
|---|---|---|
| Shine and Color | Uniform brightness and consistent gold color | Confirms effective cleaning and finish |
| Stone Settings | Stones feel secure, no wiggling or gaps | Prevents loss and damage |
| Residue or Spots | No soap, water spots, or leftover grime | Maintains jewelry appearance |
| Surface Smoothness | No rough patches or unexpected texture | Indicates no scratches or damage |
| Clasps and Connections | All parts are clean and functional | Ensures safe wear and usability |
Elevate Your Gold Jewelry Care With Malibu Vibes Jewelry
You learned how vital gentle methods and careful cleaning are for preserving your gold’s brilliance. But are you choosing jewelry that complements all your efforts at home? Many people struggle to keep their gold looking its best because their pieces aren’t crafted to last or are difficult to maintain. At Malibu Vibes Jewelry, each piece is thoughtfully designed with quality in mind, making daily care and cleaning effortless. Explore our stunning Solid Gold Necklaces collection, where every necklace is handcrafted to the highest standard and built for everyday life.
Ready to enjoy jewelry that stays as radiant as your careful cleaning routine? Discover more durable and beautifully crafted pieces at Malibu Vibes Jewelry. Shop now for styles you will treasure and take advantage of special offers before they end.
Frequently Asked Questions
How can I clean gold jewelry naturally at home?
To clean gold jewelry naturally at home, create a solution with lukewarm water and a few drops of mild, unscented dish soap. Soak your jewelry for 15-30 minutes, then gently scrub with a soft-bristled brush before rinsing and drying it thoroughly.
What supplies do I need to clean my gold jewelry naturally?
You need mild dish soap, lukewarm water, a ceramic or glass bowl, a soft-bristled brush, and lint-free cloths. Gather these materials before starting the cleaning process to ensure gentle care for your jewelry.
How long should I soak my gold jewelry for effective cleaning?
Soak your gold jewelry for 15 to 30 minutes to effectively loosen dirt and grime. This duration allows the soapy water to break down oils without damaging your delicate pieces.
Can I use any type of soap to clean gold jewelry?
It’s best to use mild, unscented dish soap when cleaning gold jewelry. Avoid harsh detergents or chemicals, as these can strip the gold’s luster and potentially harm your jewelry.
How do I ensure my gold jewelry is completely dry after cleaning?
To ensure your gold jewelry is completely dry, gently pat it with a clean, soft microfiber cloth and consider allowing it to air dry. This step helps prevent water spots and maintains the jewelry’s shine.
What should I look for when inspecting my gold jewelry after cleaning?
After cleaning, inspect your gold jewelry for uniform shine and color, while also checking the security of any stones and clasps. Ensure there are no remaining residues and that the surface feels smooth with no scratches.
Recommended
- How to Care for Gold Jewelry: Your Ultimate Guide – Malibu Vibes Jewelry
- How to Store Fine Jewelry: Keep It Safe and Beautiful – Malibu Vibes Jewelry
- Understanding What is Gold Vermeil for Jewelry Lovers – Malibu Vibes Jewelry
- What is Gold Plating? Understanding This Jewelry Process – Malibu Vibes Jewelry