
Nearly 90 percent of buyers say crisp, professional photos are the main reason they click on jewelry online. With competition fierce in online marketplaces, the way you capture and present your jewelry can make or break a sale. The good news is that you do not need an expensive studio to create stunning images—just the right setup and a few smart techniques. This guide walks you through each step you need for dazzling DIY jewelry photography at home.
Table of Contents
- Step 1: Set Up a Clean and Bright Shooting Area
- Step 2: Select the Right Background and Props
- Step 3: Position and Adjust Lighting for Sparkle
- Step 4: Arrange Jewelry for Maximum Appeal
- Step 5: Capture Photos Using the Proper Camera Settings
- Step 6: Review and Edit Your Images for Perfection
Quick Summary
| Key Point | Explanation |
|---|---|
| 1. Use a neutral background | Choose solid colors like gray or white that don’t distract from your jewelry and allow it to stand out. |
| 2. Optimize lighting with natural light | Utilize soft, indirect sunlight to avoid harsh shadows and glares, enhancing the jewelry’s details. |
| 3. Position jewelry strategically | Arrange pieces to showcase their best angles, using props to add interest without overshadowing the jewelry. |
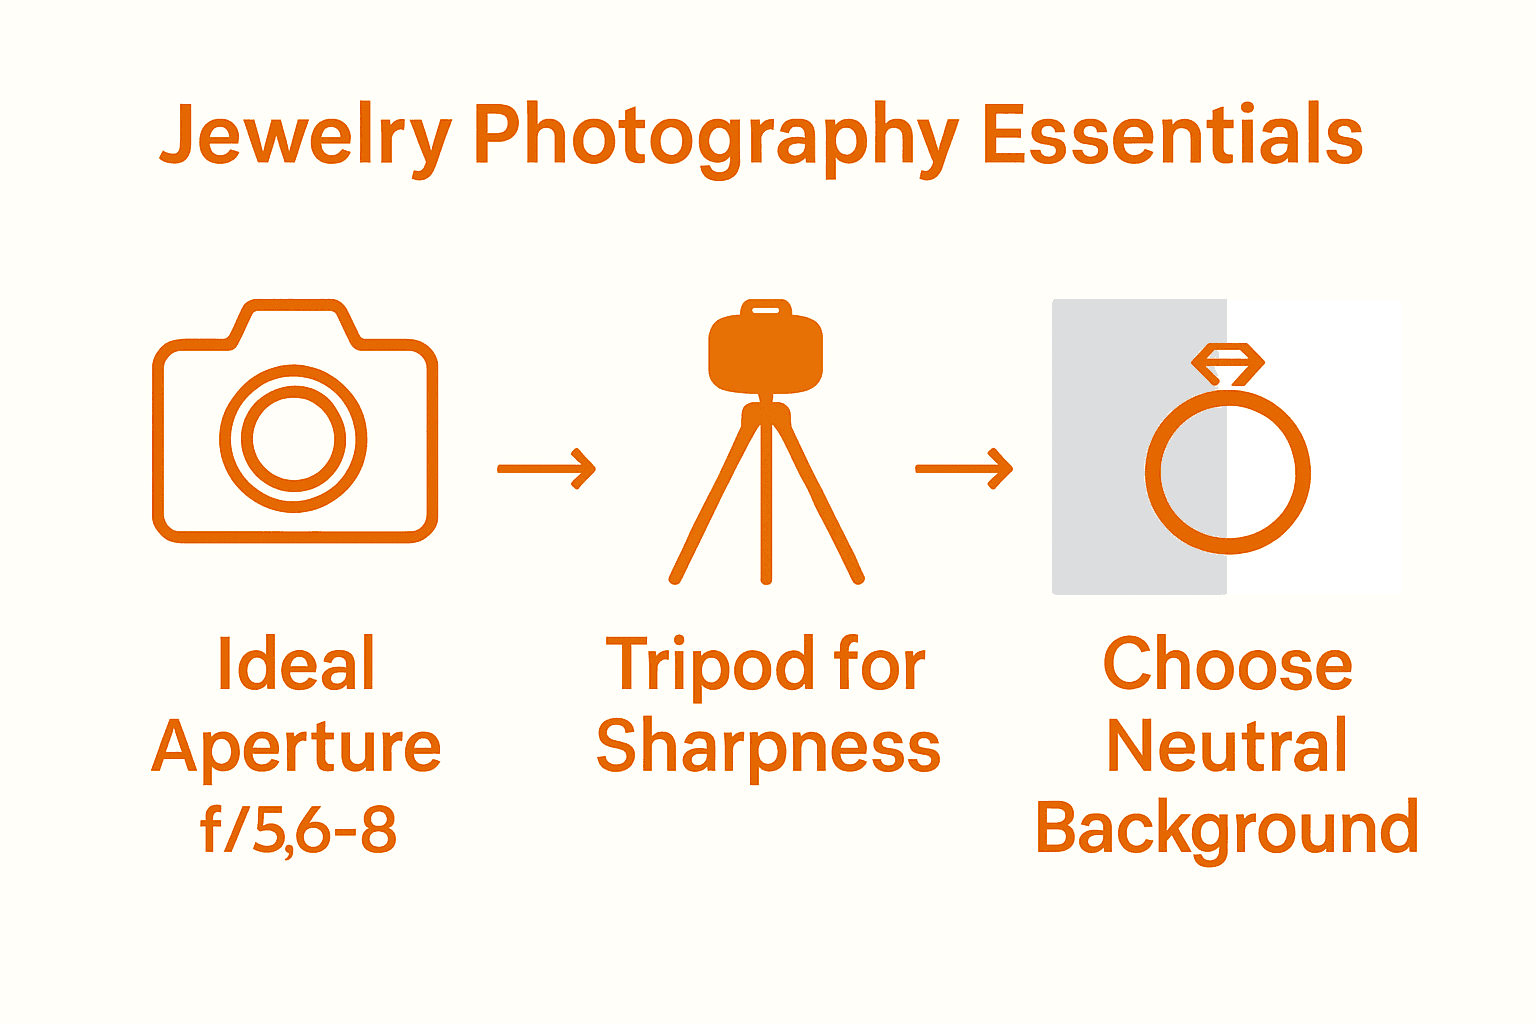
| 4. Adjust camera settings properly | Set aperture between f/5.6 and f/8 for sharpness, and always use a tripod for stability to improve image quality. |
| 5. Edit images for consistency | Review and enhance images for color accuracy and subtlety while maintaining a cohesive style across your portfolio. |
Step 1: Set Up a Clean and Bright Shooting Area
When photographing jewelry at home, creating the right shooting area is your foundation for stunning images. You want a setup that highlights your pieces without distracting backgrounds or complicated equipment. According to sc.edu, the key is to utilize a neutral and uniform background that makes your jewelry the main focal point.
Start by selecting a clean surface like a white table or smooth countertop. Gather materials such as a large white poster board, seamless paper, or a neutral cloth that can create a gentle curved background. As recommended by collections-anthropology, opt for a solid gray background instead of pure white or black, which can create harsh reflections or lose detail. Position your selected background material to create a smooth, slightly curved surface that eliminates harsh edges and provides a clean backdrop for your jewelry.
Pro tip: Natural indirect light works best for jewelry photography. Position yourself near a large window with soft, diffused sunlight to avoid harsh shadows and create a soft, professional look. Avoid direct sunlight, which can create intense glares and unwanted reflections on metallic surfaces. Your next step will be setting up proper lighting to enhance your jewelry’s intricate details and sparkle.
Step 2: Select the Right Background and Props
Selecting the perfect background and props can transform your jewelry photography from amateur to professional. According to amcaw.org, white backgrounds are the most versatile choice preferred by sellers and consumers alike. These backgrounds work brilliantly for competitions, juried shows, and publications.
Your goal is to create a clean visual environment that allows your jewelry to shine without unnecessary distractions. As recommended by rbcrafts.org, stick to neutral backgrounds like white, black, or subtle gradients that keep the focus squarely on your piece. While you might be tempted to add decorative props for visual interest, professional jewelry photography demands simplicity. Skip elaborate staging and let your jewelry’s craftsmanship speak for itself.
Pro tip: If you want to add subtle dimension, consider using a neutral colored fabric or a piece of textured paper that complements your jewelry without competing with it. Soft grays, light beiges, or muted pastels can provide just enough background interest without overwhelming your primary subject. Your next step will involve understanding how lighting can further enhance your jewelry’s unique characteristics.
Step 3: Position and Adjust Lighting for Sparkle
Mastering jewelry photography lighting is all about creating that perfect sparkle that makes your pieces truly shine. According to gia.edu, choosing the right background contrast is crucial your subject. If your jewelry is light colored, opt for a dark background and vice versa to make your piece pop.
Start by positioning your light source at a 45 degree angle to minimize harsh shadows and maximize the jewelry’s brilliance. Natural diffused light works best soft window light or a professional softbox can create gorgeous results. As recommended by amcaw.org, you can use a small piece of Blue Tack to subtly angle your jewelry piece. This trick creates a three dimensional look and adds a delicate shadow that brings depth to your photograph.
Pro tip: Experiment with multiple light sources to highlight different aspects of your jewelry. A main light at a 45 degree angle combined with a softer fill light can reveal intricate details and create a professional studio look. If you’re using natural light, try positioning your jewelry near a large window with sheer curtains that naturally diffuse the sunlight. Your next step will involve capturing sharp close up images that showcase your jewelry’s finest details.
Step 4: Arrange Jewelry for Maximum Appeal
Capturing the perfect jewelry photograph is an art that begins with strategic arrangement and positioning. According to openchallenge.org, using a plain background is crucial to make your jewelry stand out. Choose a neutral color like white, gray, or black that provides flexibility during post processing and keeps the focus squarely on your piece.
When positioning your jewelry, think about showcasing its most captivating angles. For necklaces, slightly drape them to show their elegant curve. Rings look best when tilted to reveal intricate details of the setting. As newspacephoto.org recommends, opt for a seamless background made of pliable materials like paper or craft foam to create a smooth surface without distracting lines or creases. This approach ensures your jewelry remains the star of the image.
Pro tip: Use small props like clear acrylic risers or soft putty to subtly elevate and angle your pieces. This creates visual interest and allows light to interact with the jewelry from multiple perspectives.
 Experiment with different placements until you find an arrangement that highlights the unique characteristics of each piece.
Your next step will involve capturing crisp close up images that truly showcase the beauty and craftsmanship of your jewelry.
Step 5: Capture Photos Using the Proper Camera Settings
Taking professional quality jewelry photographs requires understanding your camera settings and creating the right technical conditions. According to canon.org, the ideal aperture for product photography is between f/5.6 and f/8. This range provides excellent sharpness while maintaining enough subject separation to create a professional looking image.
If you are using a smartphone, most modern devices have manual or professional modes that allow you to adjust settings similar to a traditional camera. For those using a dedicated camera, invest time in learning how to manually adjust your aperture and focus. As recommended by canon.org, using a tripod is crucial to eliminate blur and maintain consistent framing. This small investment can dramatically improve the quality of your jewelry photographs by reducing camera shake and ensuring crisp, clear images.
Pro tip: Always clean your jewelry and camera lens before shooting. Dust and fingerprints can create unwanted reflections and reduce image quality. Experiment with different camera settings and take multiple shots from various angles to give yourself options during post processing. Your next step will involve reviewing and selecting the most compelling images that truly showcase your jewelry’s unique beauty.
Step 6: Review and Edit Your Images for Perfection
The final stage of jewelry photography is carefully reviewing and editing your images to ensure they showcase your pieces in the most stunning light possible. According to theguild.org, while professional photographers can charge around $100 per image, you can absolutely achieve professional results through careful self editing and practice.
Begin by critically examining each image on a large screen. Look for sharpness, color accuracy, and how well the jewelry is centered and highlighted. As design.uoregon.edu recommends, ensure your background remains completely neutral and undistracting. Avoid any backgrounds with texture or wrinkles that could pull attention away from your jewelry’s intricate details. Use photo editing software to make subtle adjustments like brightness, contrast, and white balance to enhance your images without making them look overly processed.
Pro tip: Create a consistent editing style across all your jewelry photographs. This creates a professional look for your portfolio or online store and helps potential customers focus on the unique beauty of each piece. Consider creating preset filters in your editing software to maintain a cohesive visual aesthetic. Your final images should make your jewelry look irresistible and tell a visual story that draws viewers in.
Capture and Showcase Jewelry Beauty Like a Pro
Struggling to make your jewelry photos sparkle and truly represent the craftsmanship behind each piece Understanding how to set up the perfect background and lighting can be challenging, but having elegant pieces makes all the difference. Elevate your jewelry photography by featuring pieces from our Bezel Jewelry collection that are designed to catch light beautifully and highlight intricate details with ease.
Discover how expertly crafted jewelry can transform your images and captivate your audience on first glance. Start photographing with pieces like our luxurious 14k Gold Diamond Earrings, perfect for adding brilliance and style. Visit Malibu Vibes Jewelry now and find the ideal jewelry to inspire your next stunning shoot.
Frequently Asked Questions
How do I set up a clean shooting area for jewelry photography at home?
To create a clean shooting area, choose a neutral and uniform background like white or gray. Use materials such as large white poster board or seamless paper to eliminate distractions and focus on your jewelry. Position your setup near a large window to take advantage of natural diffused light.
What background works best for photographing jewelry?
A solid white or gray background is ideal for jewelry photography as it provides versatility and keeps the focus on your pieces. Avoid overly textured or patterned backgrounds, and ensure the area is clean and free of distractions. Consider using neutral-colored fabric or textured paper for added dimension without overwhelming the jewelry.
How should I position my lighting for optimal sparkle in jewelry photos?
Position your light source at a 45-degree angle to the jewelry to minimize harsh shadows and enhance its brilliance. Experiment by using natural diffused light from a window or adding a soft fill light to reveal intricate details and achieve a professional look. This setup can create beautiful highlights and deepening shadows for visual interest.
What camera settings should I use for jewelry photography?
For professional-quality images, set your camera’s aperture between f/5.6 and f/8 to achieve sharpness and subject separation. If using a smartphone, explore manual settings to adjust similar features. Always use a tripod to minimize blur and maintain consistent framing while shooting.
How can I effectively edit my jewelry photographs after capturing them?
Review each image critically for sharpness and color accuracy, adjusting brightness and contrast as needed to enhance your visuals. Use photo editing software to create a consistent editing style across your images, which can give your portfolio a professional look. Aim for subtle adjustments that make your jewelry look irresistible without appearing overly processed.
What props can I use without distracting from my jewelry in photos?
While props can enhance visuals, keep them minimal to avoid distraction. Use clear acrylic risers or small textures that complement the jewelry, allowing light to interact beautifully. Experiment with different placements to see what elevates your piece while maintaining focus on its craftsmanship.